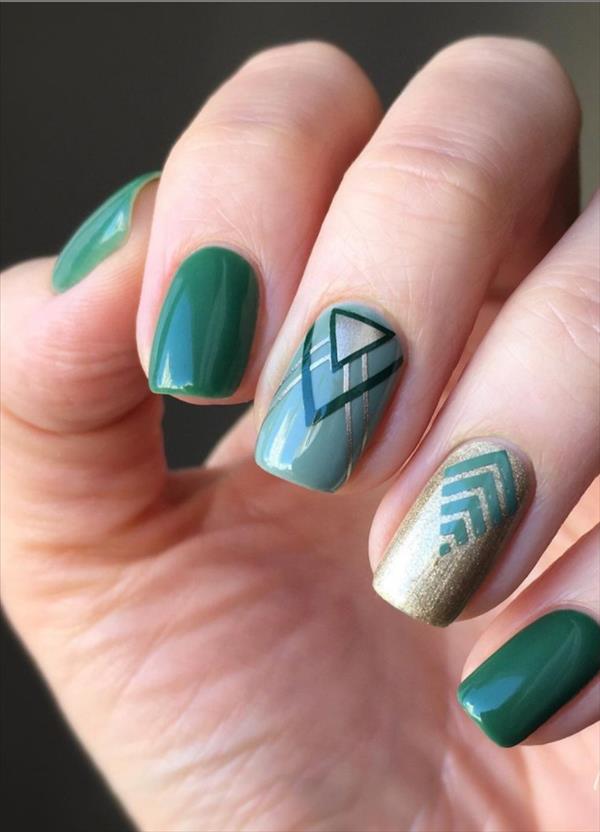
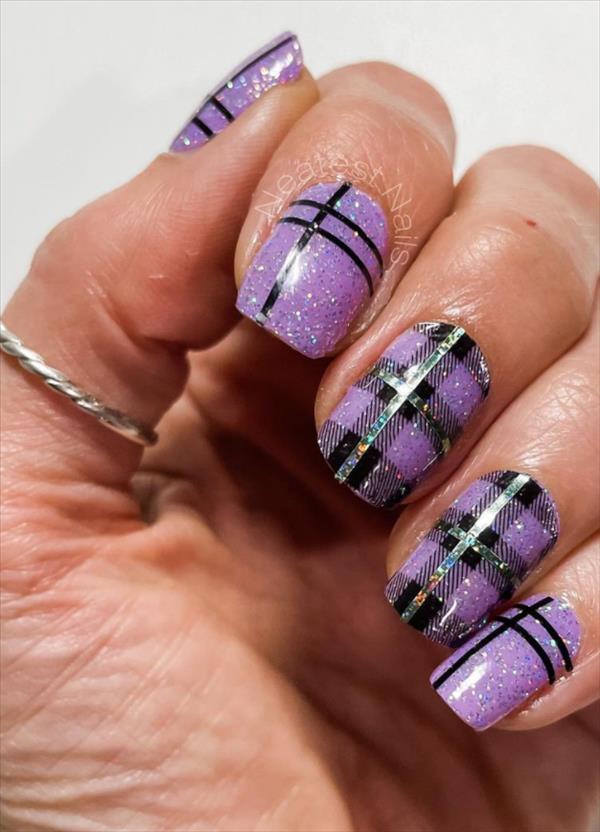
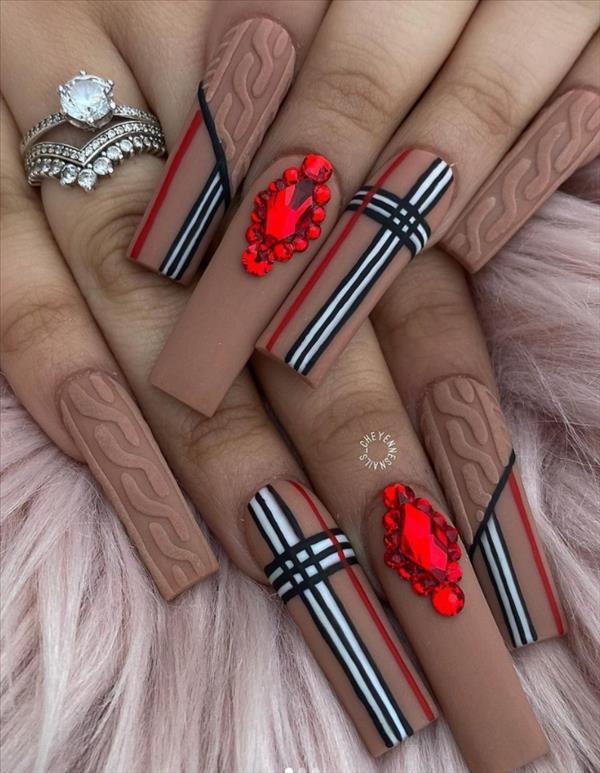
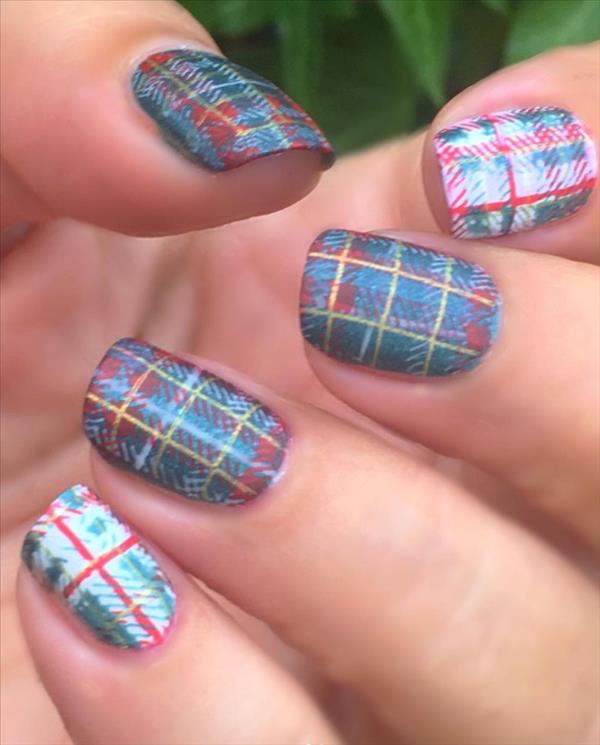
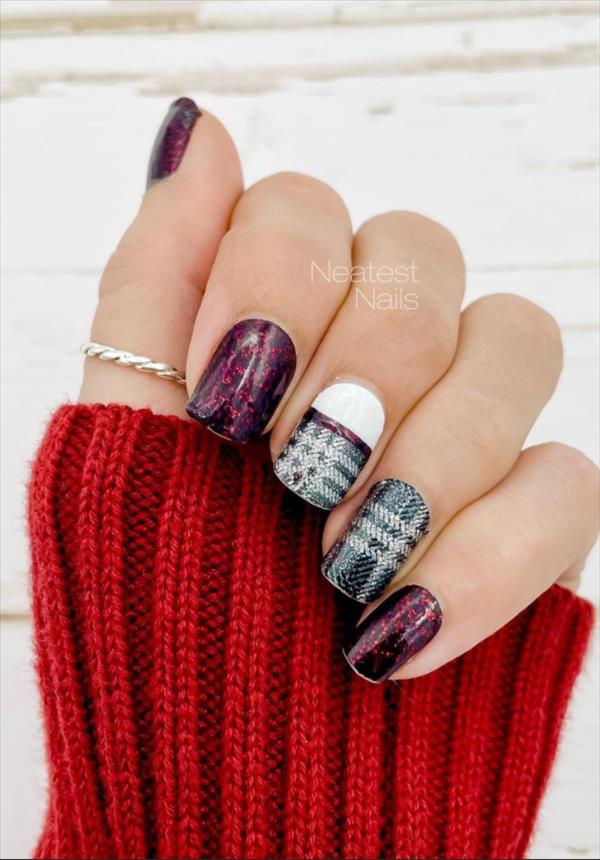
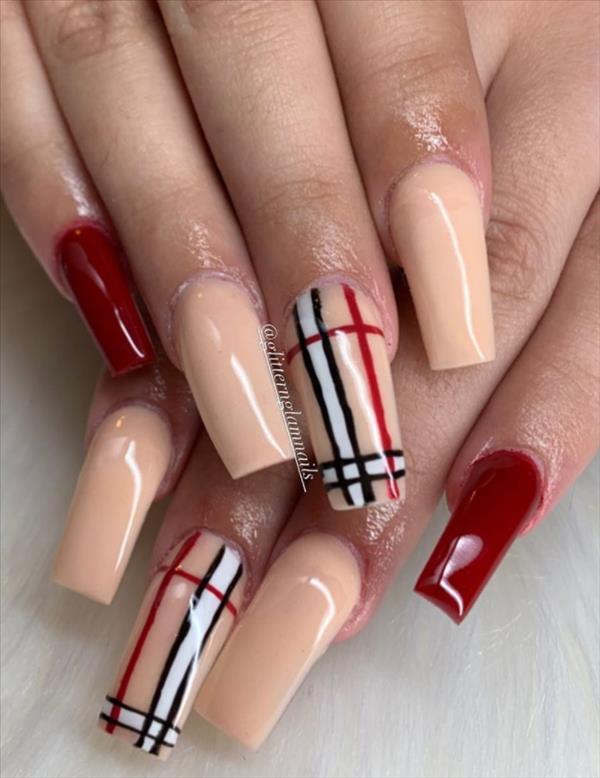
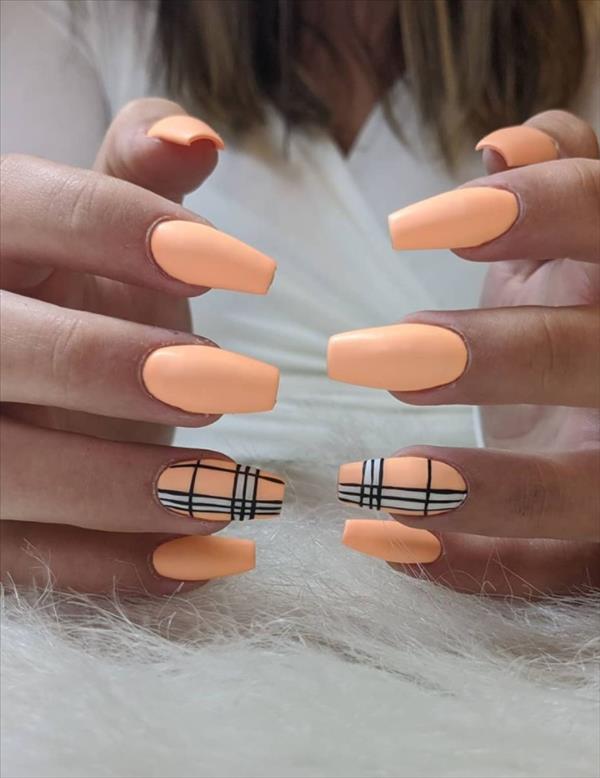
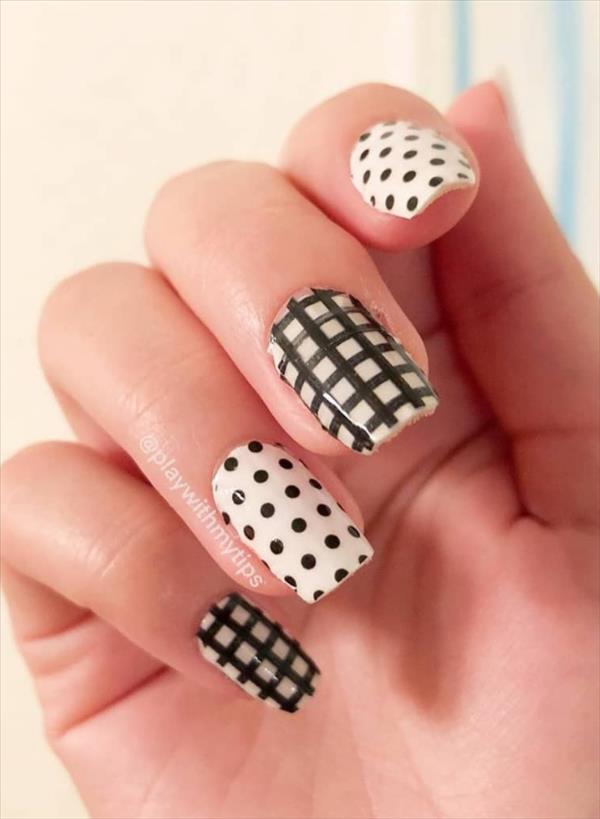
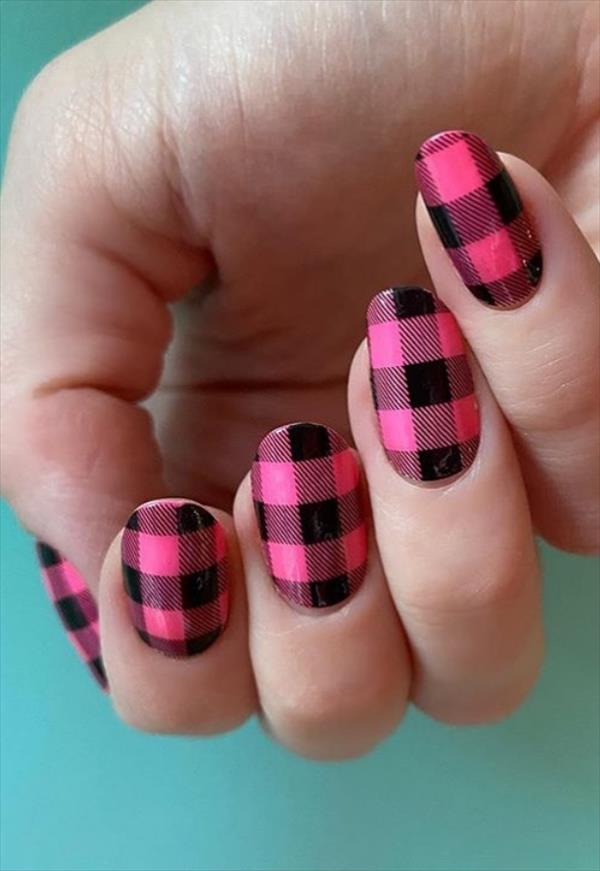
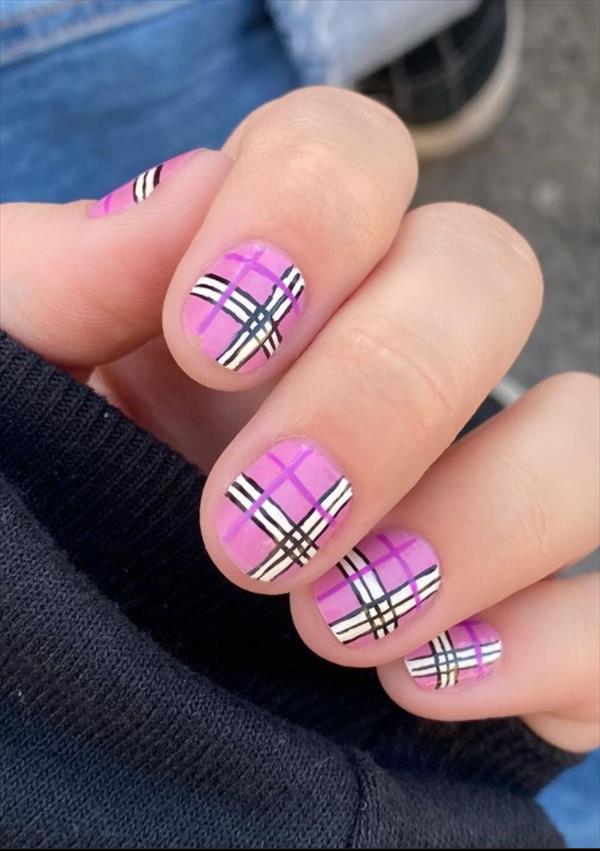
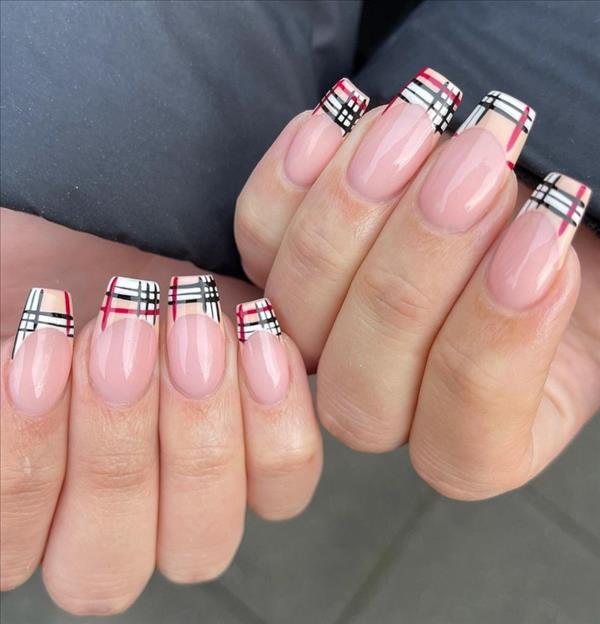
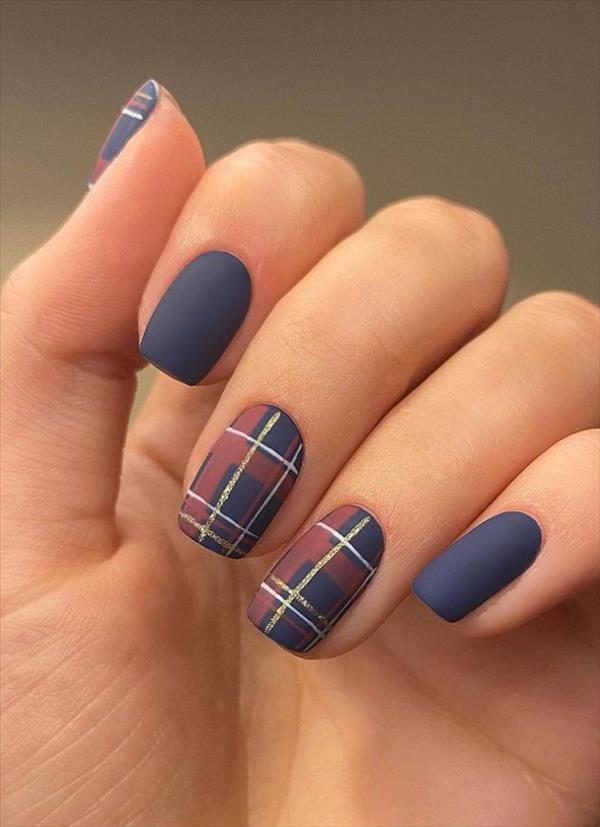
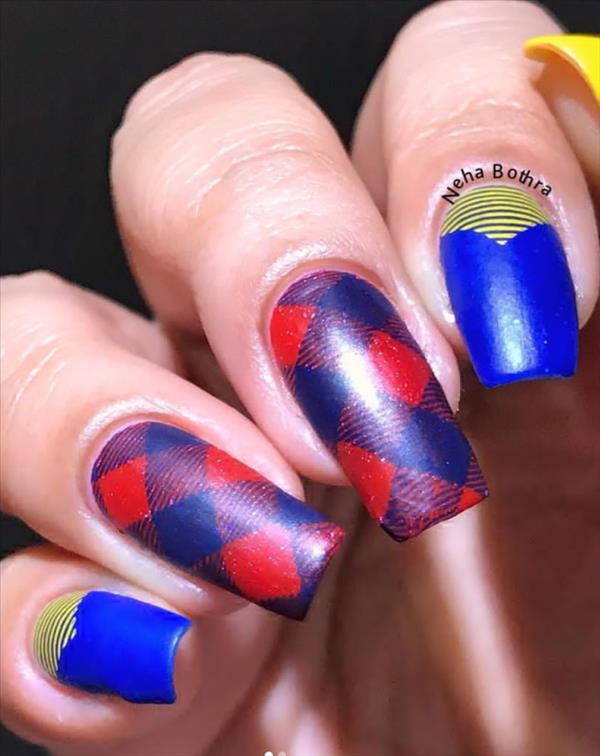
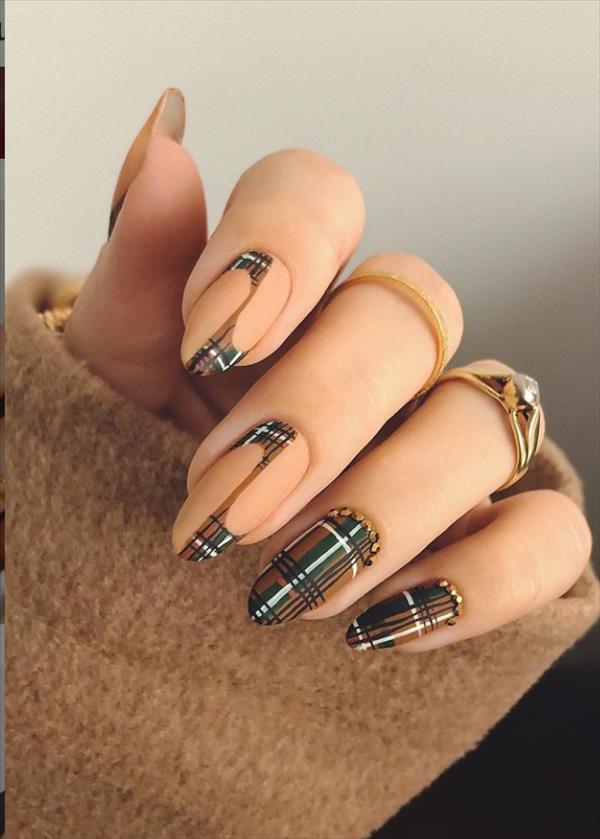
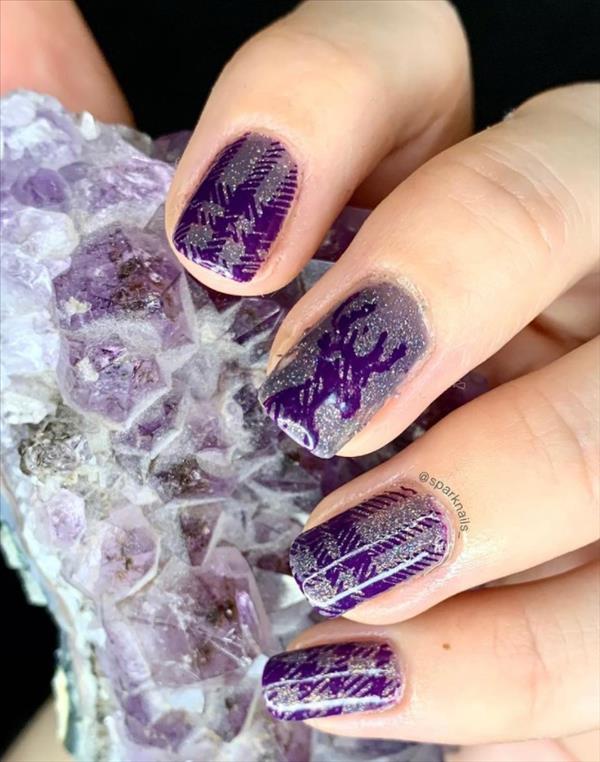
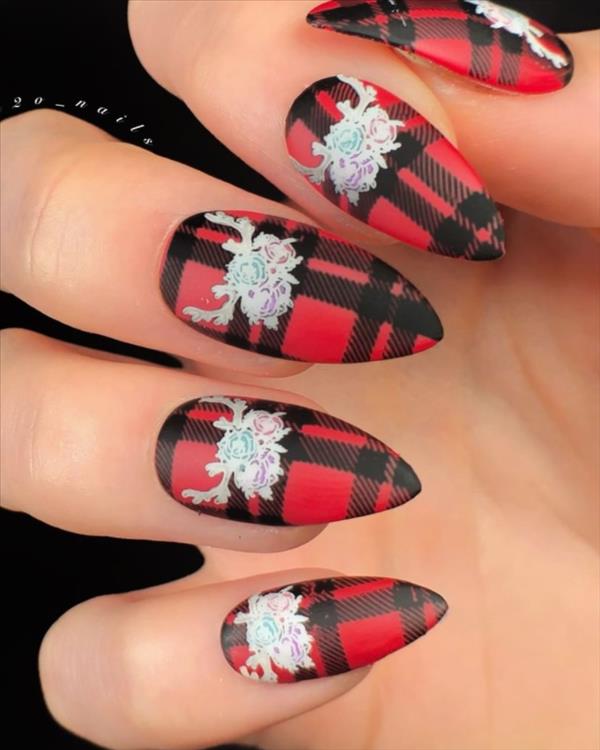
Once I was brushed by Plaid nail art. Plaid nail is also a very good match style, red and white checkered lively and vigorous, brown plaid British temperament, black and white lattice pattern high-grade cold, each style is very beautiful.
Plaid is an enduring fashion element. Its handsome and neutral style is favored by designers and fashionistas. However, plaid clothing is very attractive, and it is difficult to control if the figure and temperament are not online. Therefore, when you want to try the plaid element and are not very confident about yourself, easy plaid nail is a good choice. Short nail shaape or ballerina nail shape are both good for plaid nails art design in summer .
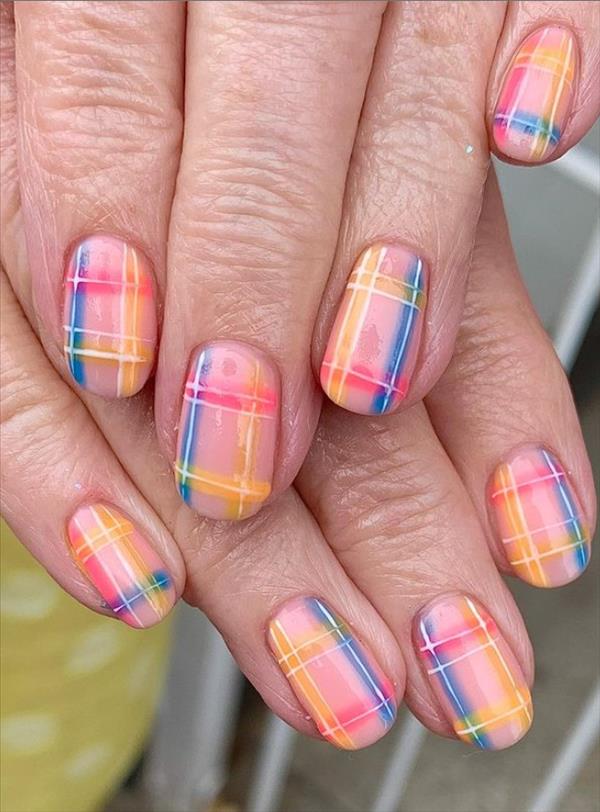
Plaid pattern is a classic pattern in the fashion world, and colorful plaid have different tastes ~I will bring you a colorful plaid nail tutorial today, which is beautiful and easy to use! Diy plaid nail is difficult? No, it’s so easy to paint plaid nail. Today we set a pink plaid nail as a sample below to learn how to make plaid nails with short shape nail and ballerina nail shapes.
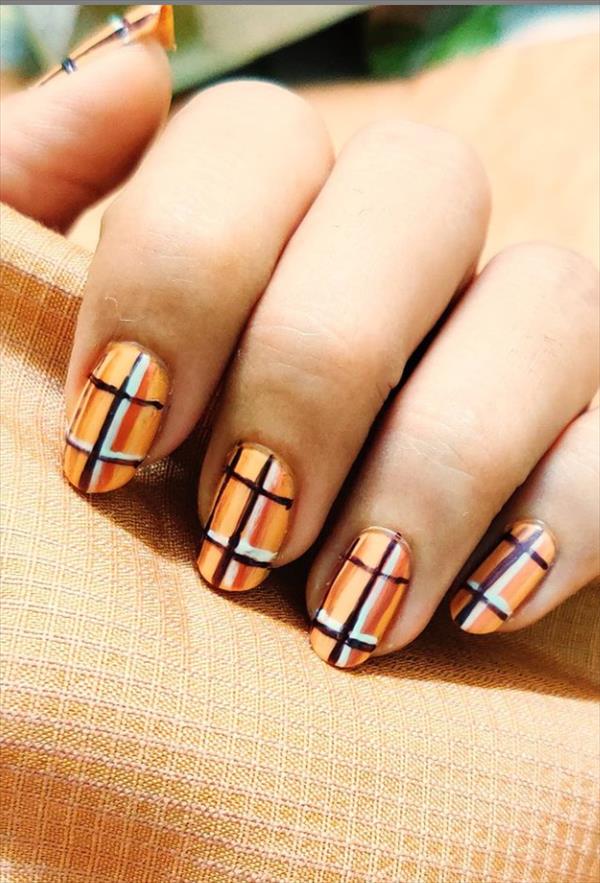
Plaid nail art tutorial
Step 1: bare pink nail polish base, use a small pen to dip white nail polish glue, draw two horizontal lines to divide the nail surface into three equal points, and then vertically divide into three equal points, remember to draw straight lines ~ then light is the end of this step.
Step 2: use broad brush comprising a row of penshaped brushes to dip red UV Polish and brush the color for the two grids in the middle.
Step 3: Next, use blue, yellow, purple, Rose Red UV Polish respectively to brush different lattices with colors.
Step 4: continue to color the nail surface according to the method of the previous step, which will add color rendering and make the color brighter.
Step 5: dip the red broad brush comprising a row of penshaped brushes with UV Polish and color the grid in the middle repeatedly. The grid below should be yellow! Next, use different colors to color the plaid repeatedly ~ don’t use the wrong color! In the color block in the middle above, we only paint the edge of one side to purple, and then brush the thin white and light on the middle.
Step 7: use broad brush comprising a row of penshaped brushes to dip the purple UV Polish. After brushing the grid on the bottom left, brush the color on the edge of the grid on the right, but use white in the middle! In other places, the color of the original grid is deepened ~ while the grid below the red is still yellow ~ light.
Step 8: dip the white UV polish with a small pen and re-describe the lines separated from the grid. Make the line drawing straight! Light. Finally, the sealing layer is finished.